Options. Account settings
The Accounts tab of the Options dialog box contains settings related to creating and editing user accounts. These settings help you control the users' rights to create and edit their own IM account information from the instant messaging clients.
To open the Options dialog box click the  button on the toolbar or select the "Tools\Options..." item from the main menu or use the Ctrl+O hotkey.
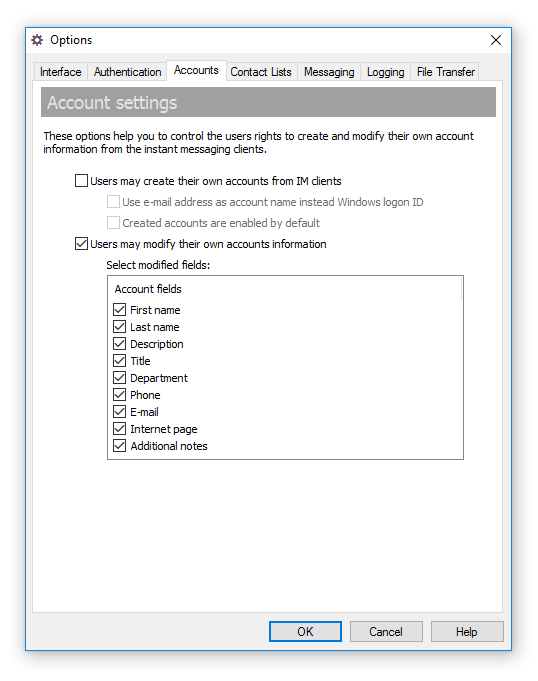 |
| User account settings |
- "Users may create their own accounts from IM clients" — Select this option to permit users to create their own user accounts on the server. Once connected for the first time, the user will be informed that his account is not found on the IM server, but he may create the account himself. The messenger opens the Create My Account Wizard and creates the new account on the server when the wizard finishes its work.
- "Use e-mail address as account name instead Windows logon ID" — Use this check box to enable e-mail mode authentication. This mode permits users to enter their e-mail addresses in the Create My Account Wizard in the messengers and use the e-mails as IM account names. Use this mode to avoid situations when several users have the same Windows logon name (for example, "Administrator") and you want to set up different IM account for each user.
This option is unavailable when the Windows Authentication mode is enabled (see the Authentication settings topic) since that mode requires to use current Windows logon ID to authorize users on the server.
- "Created accounts are enabled by default" — By default, new accounts created from messaging clients are disabled on the server due to security issues. Use this option to automatically enable accounts after they have been created on the server and allow users to join the IM network after they complete the Create My Account Wizard (client-side software).
- "Users may modify their own accounts information" — Select this option to permit users to change their account information, except the User Account name (Logon ID), and select the fields that can be modified by users from the list below.